
I'm a pretty good recycler but I'm not as good at upcycling. Whenever I do find a great idea, I just have to share it. I also love a challenge. I like to take an art supply or a tool and come up with a whole bunch of new ways to use it. Some people would find that weird, I call it a hobby. So, when faced with a pile of dry cleaner bags from my husband's side of the closet, I decided to take it on as a full-fledge challenge.


Here's my list:
Texture tool (I used it for gelatin printing.)
Resist tool
Non-porous surface
Brush saver
Dropcloth
Texture:
Roll out some Golden Artists Colors fluid acrylic paints on a Gelli or gelatin plate with a brayer. Here I used the brayer to blend the two colors to make a nice ombre effect.


Next, crumple up a piece of the bag and then press it into the wet paint, working quickly. Move from the light color to the dark and back again.


Then it's time to print. Place a piece of paper on the printing plate, apply overall pressure and lift up!


 |
| Finished print with Dry Cleaner Bag Texture |

Resist:
Paint a piece of water color paper with water and then a wash and spray or splotches of paint. While the paint is still wet, spread out a piece of dry cleaner bag and scrunch it up a little so create interesting resist sections. Let the paper dry completely and then remove the bag to reveal the resist.


 |
| Finished Paper with Resist |
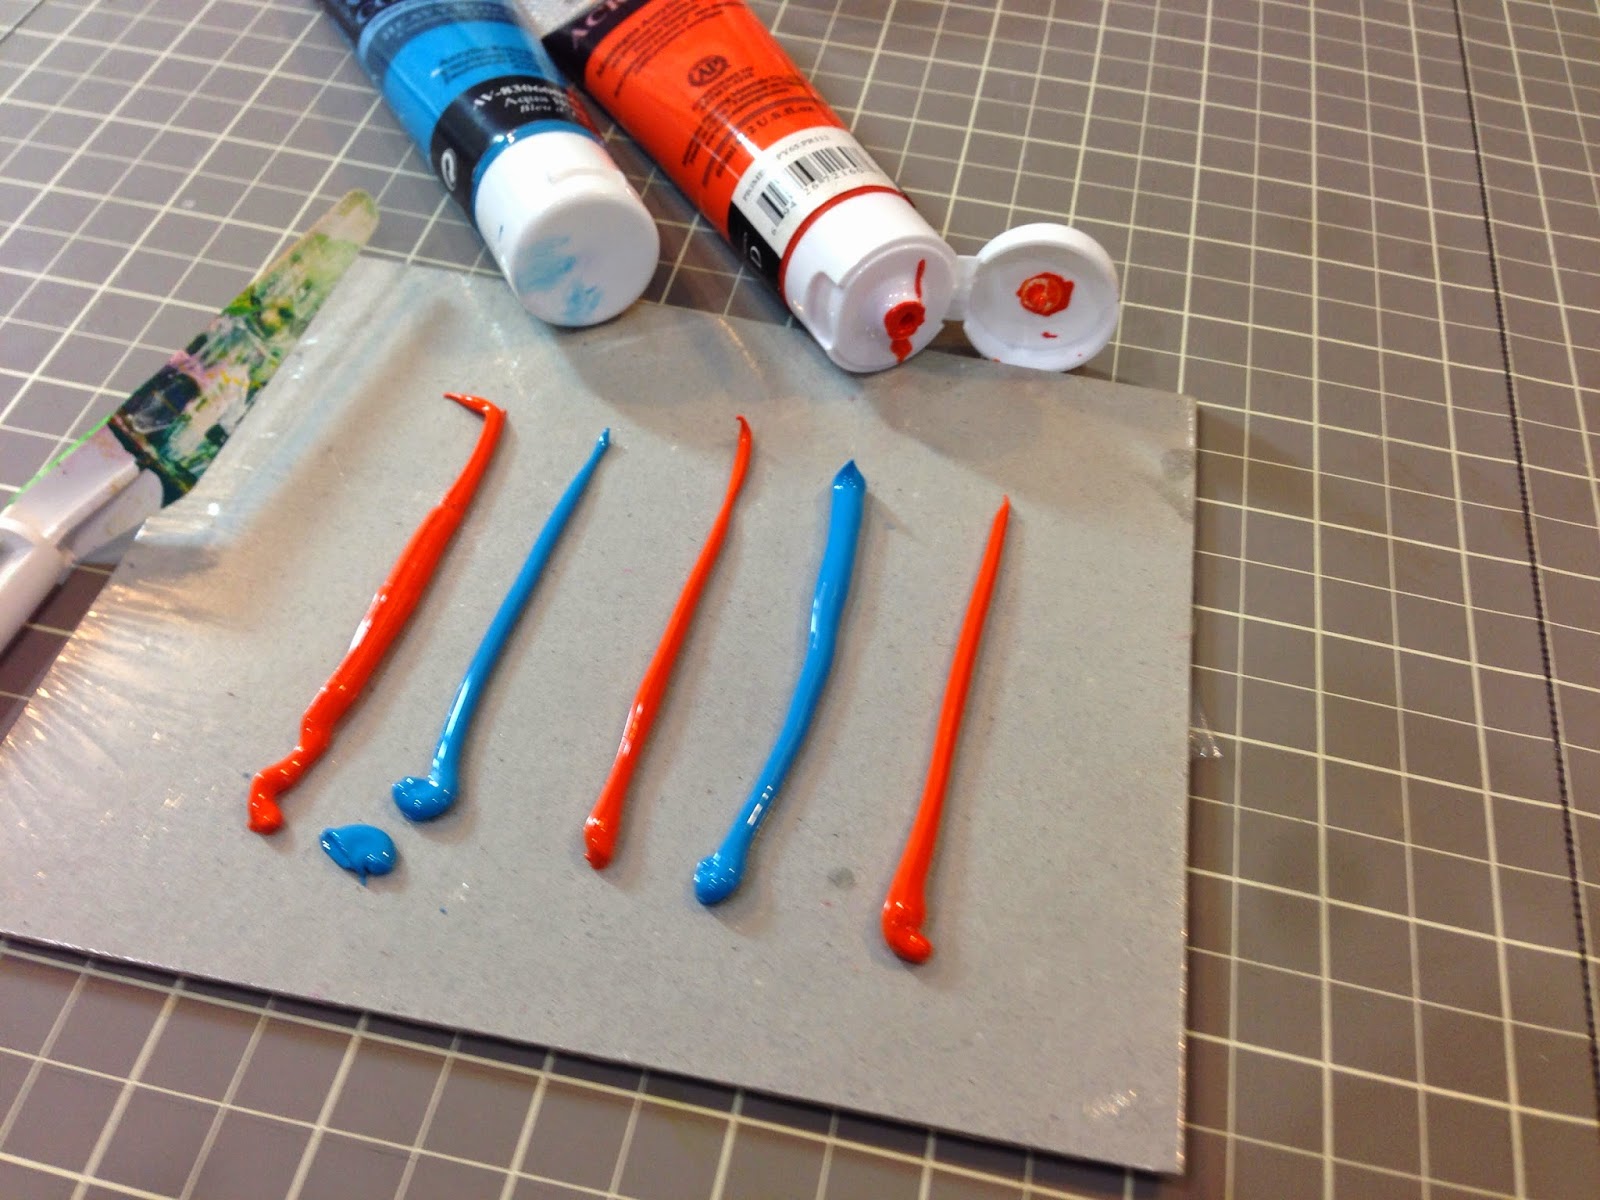
 Non-porous surface
Use tape to secure a piece of dry cleaner bag to a piece of cardboard. Make sure it's nice and taught. Use a palette knife to spread a thin but not transparent layer of paint on the fully covered side of the board. Let dry completely to create a acrylic skin for use in painting or collage.


 |
| Acrylic skin ready to peel and use. |

Don't let your brushes dry up. Just wrap it tightly in a small piece of dry cleaner bag until you can come back to your work. This is great in the studio but also for house painting. Use a larger piece wrapped around a paint roller and one laid over a paint tray to keep it from drying out when you need to take a break.
 |
| Brush Saved! |
 |
| And last but not least...a Dropcloth! |
1 comment:
Great ideas Jenn! I've never thought of using it to make an acrylic skin. Great idea!
Post a Comment